https://github.com/ylx2016/Linux-NetSpeed
以不卸载内核版本为例运行
[ol]wget -O tcpx.sh "https://github.com/ylx2016/Linux-NetSpeed/raw/master/tcpx.sh" && chmod +x tcpx.sh && ./tcpx.sh[/ol]复制代码
选32安装 xanmod官方最新内核,当前会安装6.4.11版本
安装完后如图6.4.11在最上面
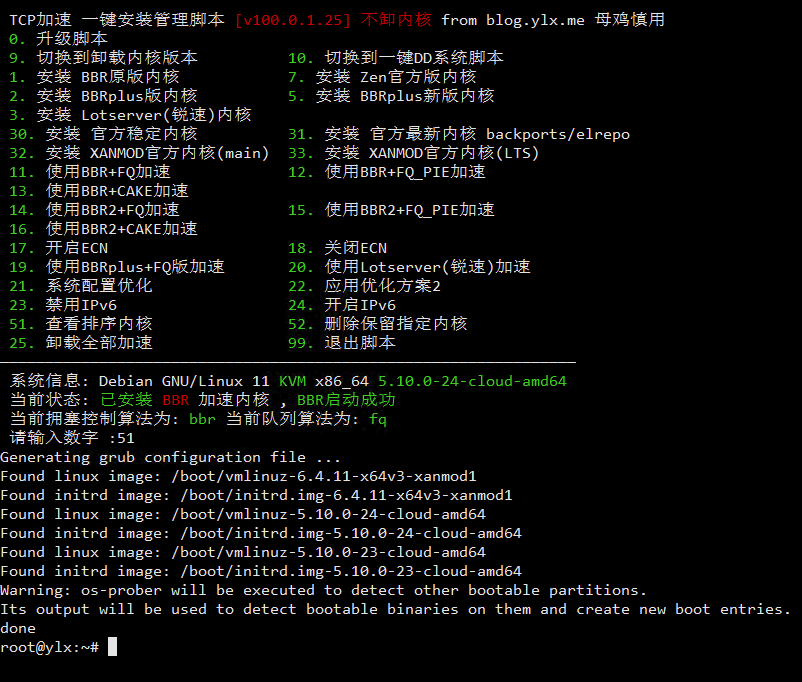
重启vps后将切换到最顶上的6.4.11内核
重启VPS后运行11启用bbr+fq, 最后按需启用17的ECN
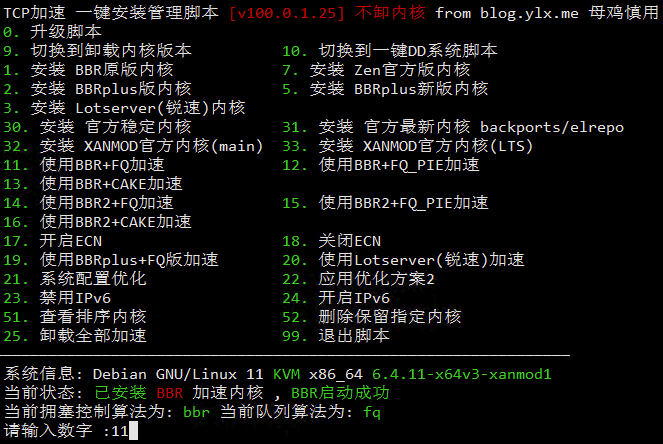
xanmod的bbrv3直接替换原来的bbr,所以直接启用bbr即启用bbrv3,见说明
https://github.com/xanmod/linux/releases/tag/6.4.11-xanmod1